
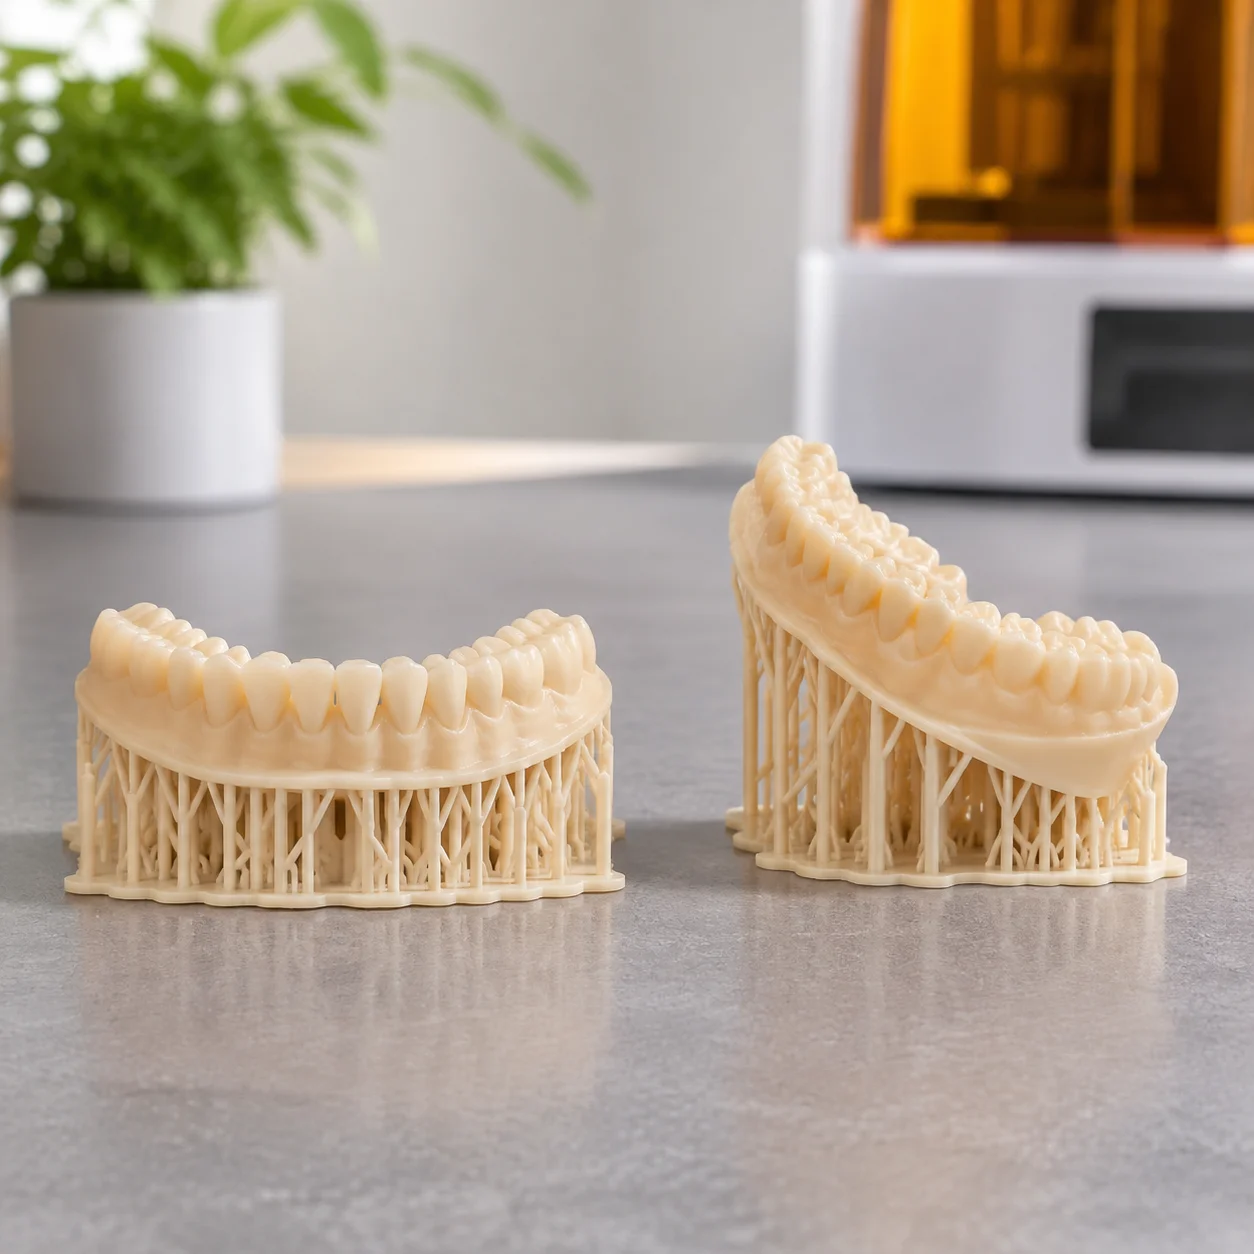
 Model Resin
Dental Arch Flat versus Angled
Comparing peel stress and contact damage between horizontal layups and steep 30-degree tilted dental arches.
Complexity: High
View Setup
Optimizing upright positioning on SLA build platforms to eliminate cupping risks, preserve optical clarity in Clear Resin, and minimize contact pitting along cosmetic perimeter faces.
Core build setup metrics for rigid chassis housings printed without internal cosmetic scarring.
Printing rectangular chassis boxes horizontally creates massive cross-sectional surface areas during early layers, resulting in substantial peel separation forces that deform parallel walls. Aligning the enclosure vertically dramatically reduces each layer slice area, turning potential delamination zones into continuous, self-stabilizing column geometry.
By angling the enclosure between 85 and 90 degrees relative to the vat floor, the open lip acts as a natural pressure equalization port. This layout eliminates enclosed vacuum suction chambers that frequently rupture thin resin shells during peel cycles.
Diagrammatic breakdown of base raft anchoring, lip elevation, and perimeter wall peel mechanics.
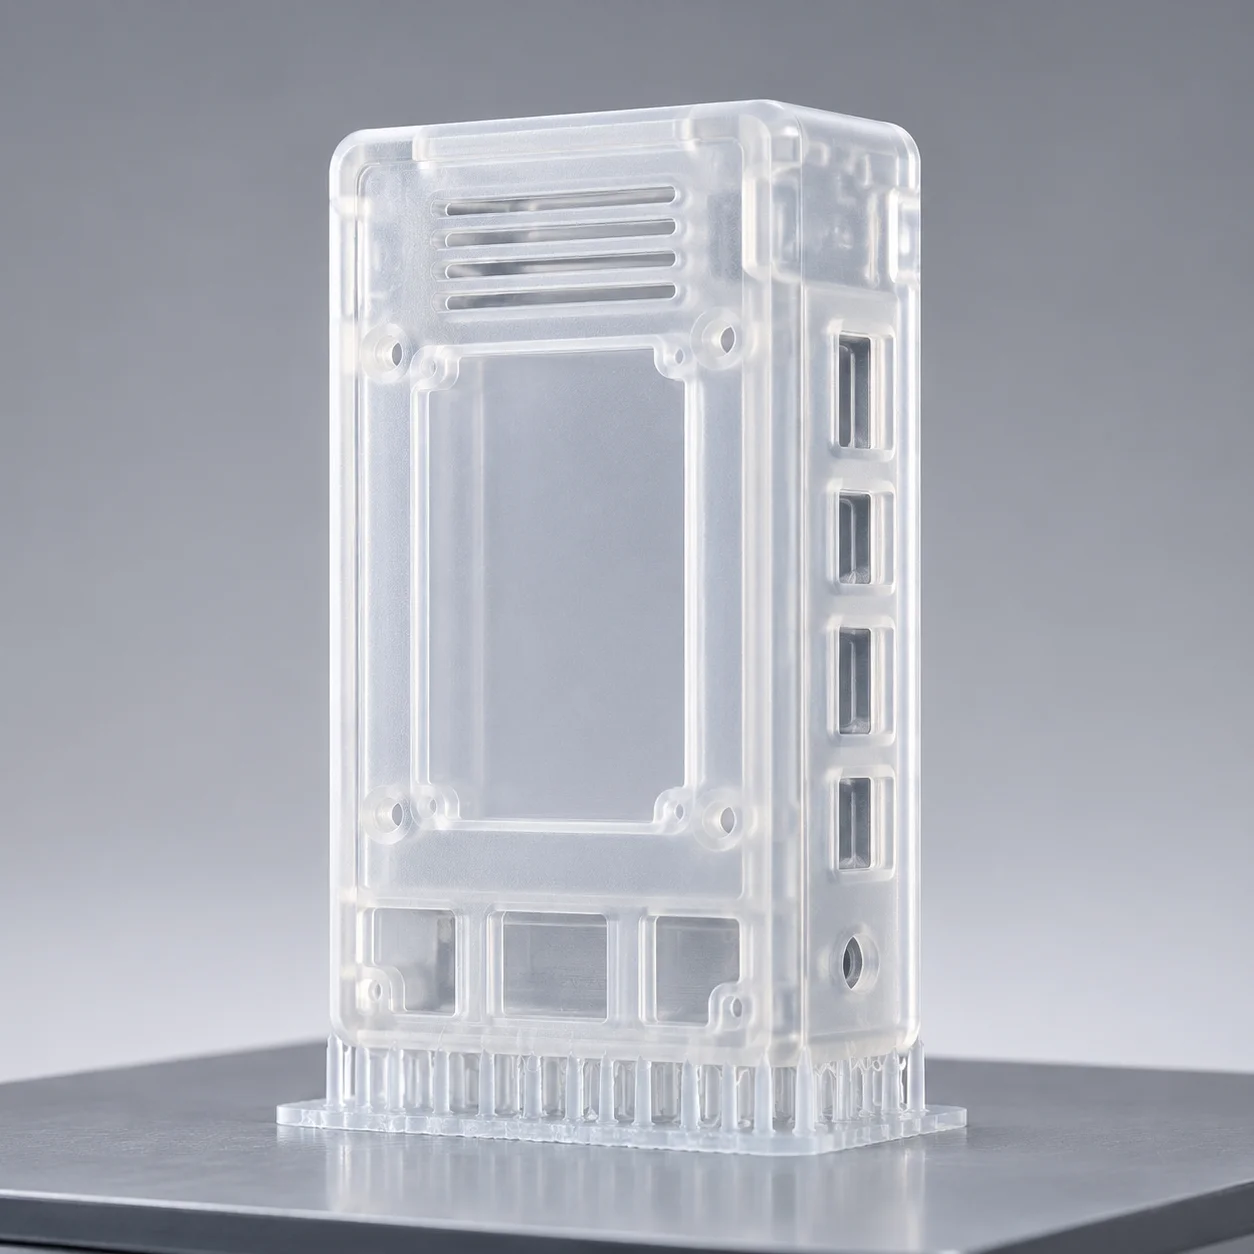
The schematic illustrates the enclosure oriented along its narrowest profile, supported primarily along the bottom non-critical rim by high-density 0.40 mm contact points. Because the exterior surfaces remain perpendicular to the build vat, resin drains freely toward the vat floor after each laser exposure pass, avoiding optical hazing or trapped uncured polymer pools across the broad transparent faces.
Balancing build height duration against exterior surface pristine preservation.
While vertical orientation extends layer count and overall machine exposure time, it delivers unmatched cosmetic finish on Clear Resin enclosures. Three core rules maintain rigid perpendicularity without wall deflection:
Addressing tall aspect ratios, warping resistance, and post-cure distortion.
Review custom wall thicknesses, enclosure drafts, and resin formulation characteristics.
Submit your STL file dimensions or orientation parameters to assess hydraulic suction traps and touchpoint scars before committing to high-volume machine runs.
Alternative orientation strategies across functional engineering and prototyping geometries.
Model Resin
Comparing peel stress and contact damage between horizontal layups and steep 30-degree tilted dental arches.
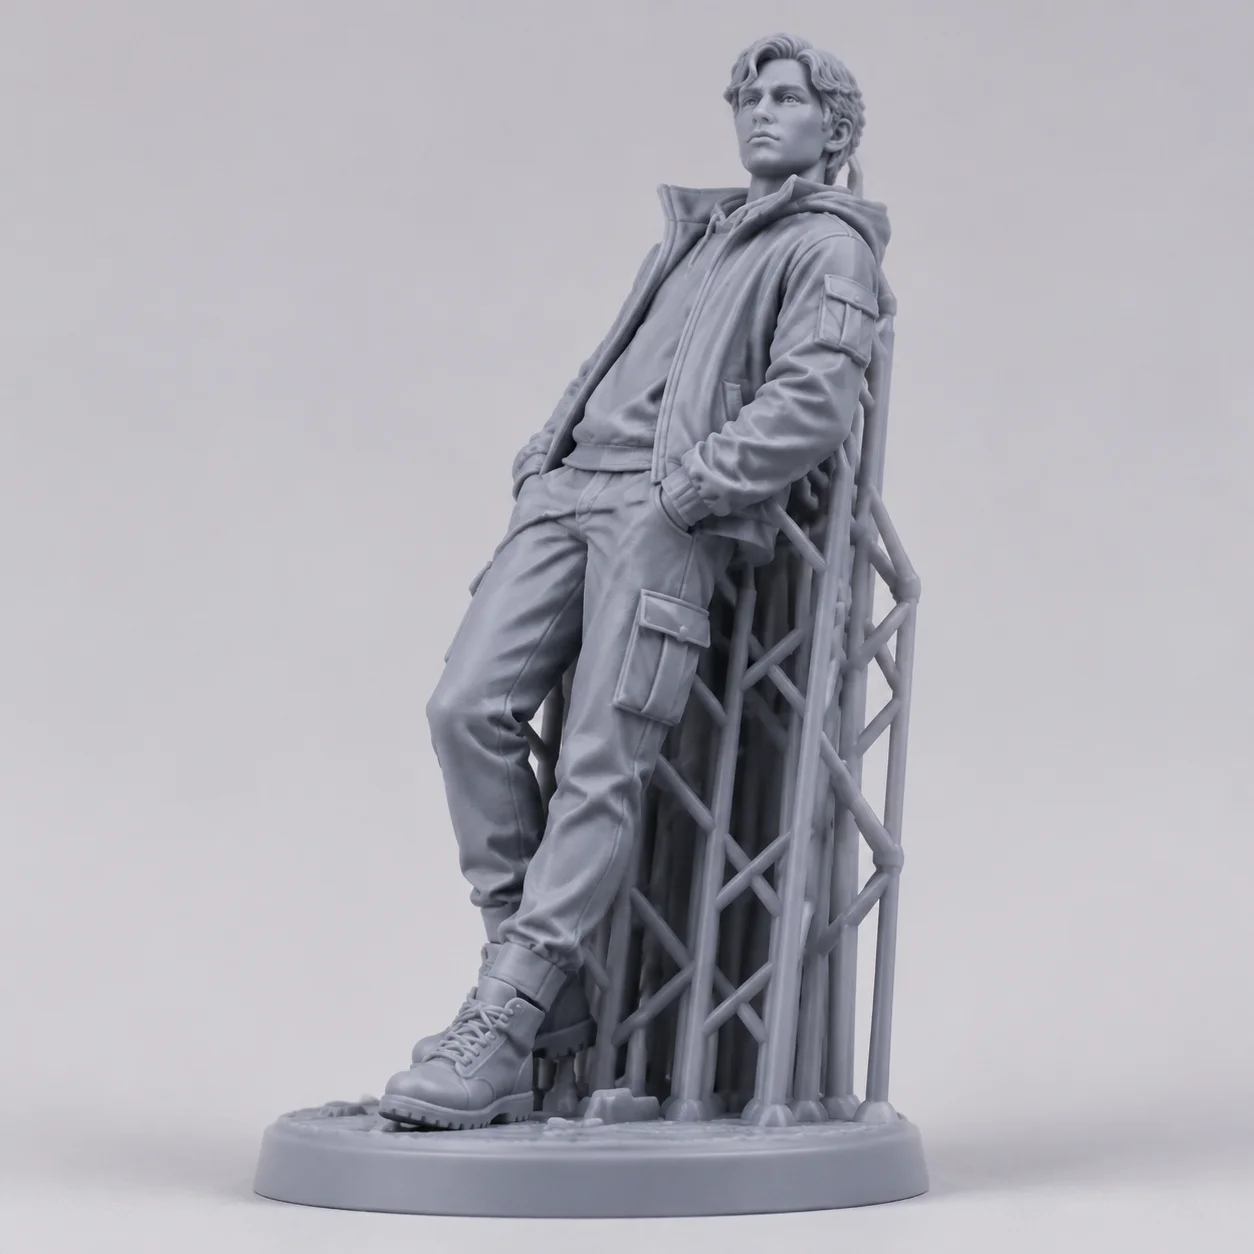 Standard Grey
Backward 45-degree tilt orientation that preserves delicate facial features and shifts supports to cape folds.
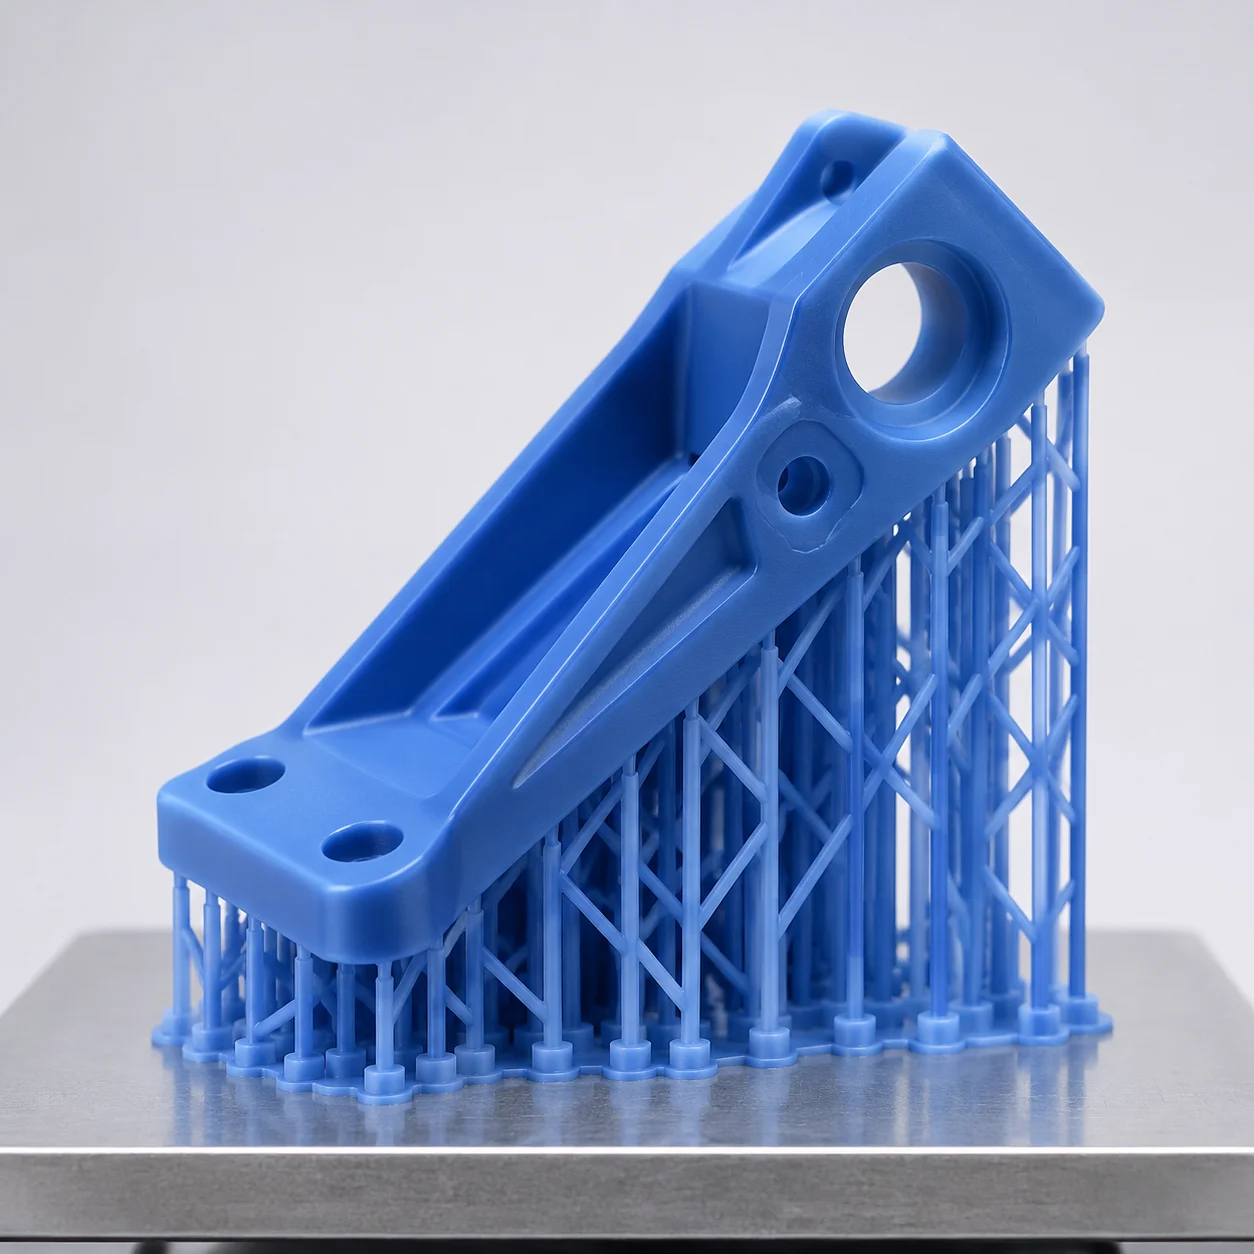 Tough Resin
Distributing high peel peel forces evenly across cantilevered bracket joints to preserve load-bearing bores.